MATERIAL PROCESSING
When Adobe Audition (known as Cool Edit Pro 2.1) or any other usual software for sound processing opens a file by using Open a Waveform option, it automatically saves a copy of that file into a temporary directory, and it uses only that copy for editing until you save the changes you made. Data which is already stored in your computer has to be slightly processed in order to remove all the defects and in order for your recording to sound better. These defects can be removed with simple tricks in any of the usual sound-processing programs. The most often used operations in sound processing and mounting are cut, copy, paste and clear. - Cut – deletes the selected part of the signal and copies it into the Clipboard.
- Copy – copies the selected part of the signal into the Clipboard.
- Clear – clears the selected part of the signal and does not copy it into the Clipboard.
- Paste – pastes the Clipboard contents into Data Window to where the cursor is placed at that moment.
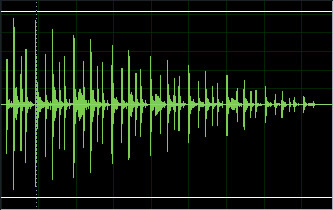
Most of these operations use Clipboard for temporary saving. Cut enables you to separate a section of data and cut all the information in the window except for that section. By a simple right click and dragging left and along the signal, you can easily select the part of the signal you wish to remove. This is a handy characteristic since you can use Play to listen to what you selected and correct the selected material until you are satisfied with the results, and then you can clear everything else by using the Trim option from the Edit menu.
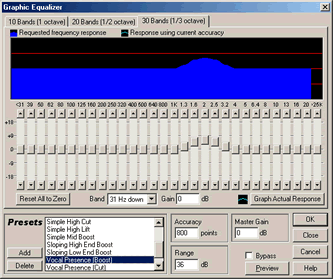
Mixing is a powerful and useful operation because it enables you to simultaneously combine two or more sound recordings in one window and thus create a complete sound picture. Mix paste option serves to mix any audio recording from the active clipboard with the currently displayed signal. Sound recording can be recorded and processed as stereo or mono, and when working with stereo files, the top channel is left, while the bottom channel is right.  Cool edit pro has many effects, but in order to be able to use them, you must first select data you wish to work on. If you want to work on the whole file, simply double click on any part of the signal and you will be able to use any effect for that file. Most effects offer the real time preview option which means that before you apply a certain effect, you can listen to what it will do to your signal and choose one of the templates or create your own. Filtrating is basic and probably the most useful effect. Filer enhances or decreases audio signals depending on their frequency i.e. we set how much up or down we want to turn the high or low tones. Filter is usually called equalizer. Graphic equalizer or filter is the most often used.  Another effect which is also very important in sound processing is compressor or dynamic processor. It equilibrates the loudness of audio signals, which means that it turns down the loud parts and turns up the quiet ones, which is very important since sound recording does not have equalized loudness, and most of the recording will very often not even be heard. Hard limiting has the same function as compression, but to a larger degree. Limiting is often used in order to stop certain signals from passing certain levels, but it can also be used for creating effects of strong compression. If you notice that your recording contains noise, it can be removed by setting the value of Click pop eliminator parameter. This parameter controls the sensitivity of the algorithms and searches for damage i.e. noise on the sound signal, as well as removes or fixes the damaged part of the signal.
| 
